
Installing Apps
I run a bunch of apps on my server. Most of them via Docker.
This post is a part of my Homelab Series. See the index here.
Syncthing
This is my preferred solution for private file syncing and backup. This package is allegedly needed for syncthing to work properly:
sudo apt install apt-transport-https
Download release keys:
curl -s https://syncthing.net/release-key.txt | gpg --dearmor | sudo tee /usr/share/keyrings/syncthing-archive-keyring.gpg >/dev/null
Add syncthing repository to local sources:
echo "deb [signed-by=/usr/share/keyrings/syncthing-archive-keyring.gpg] https://apt.syncthing.net/ syncthing stable" | sudo tee /etc/apt/sources.list.d/syncthing.list
And update apt so that syncthing can be installed:
sudo apt update
Install syncthing:
sudo apt install syncthing
Next, modify the configuration so syncthing can be accessed by other devices. Run it so it generates config files:
syncthing
And then CTRL + C to kill it. Edit configuration file:
nano ~/.local/state/syncthing/config.xml
Look for the following line (CTRL + W) and replace with the (preferrably static) IP of your server:
<address>192.168.1.199:8384</address>
Set up a service so syncthing launches on reboot:
sudo systemctl enable syncthing@$USER
And start the service:
sudo systemctl start syncthing@$USER
Syncthing is available:
http://[SERVER IP]:8384
Docker
Docker is a fantastic solution to easily run lots of software in a quick, safe and replicable way.
Make sure server is up to date:
sudo apt update
sudo apt upgrade
Proceed to install Docker:
curl -sSL https://get.docker.com | sh
Add your user to docker group:
sudo usermod -aG docker $USER
Check if it worked:
logout
groups
Now, test if Docker works:
docker run hello-world
If it worked, Terminal should show the following message:
Hello from Docker!
This message shows that your installation appears to be working correctly.
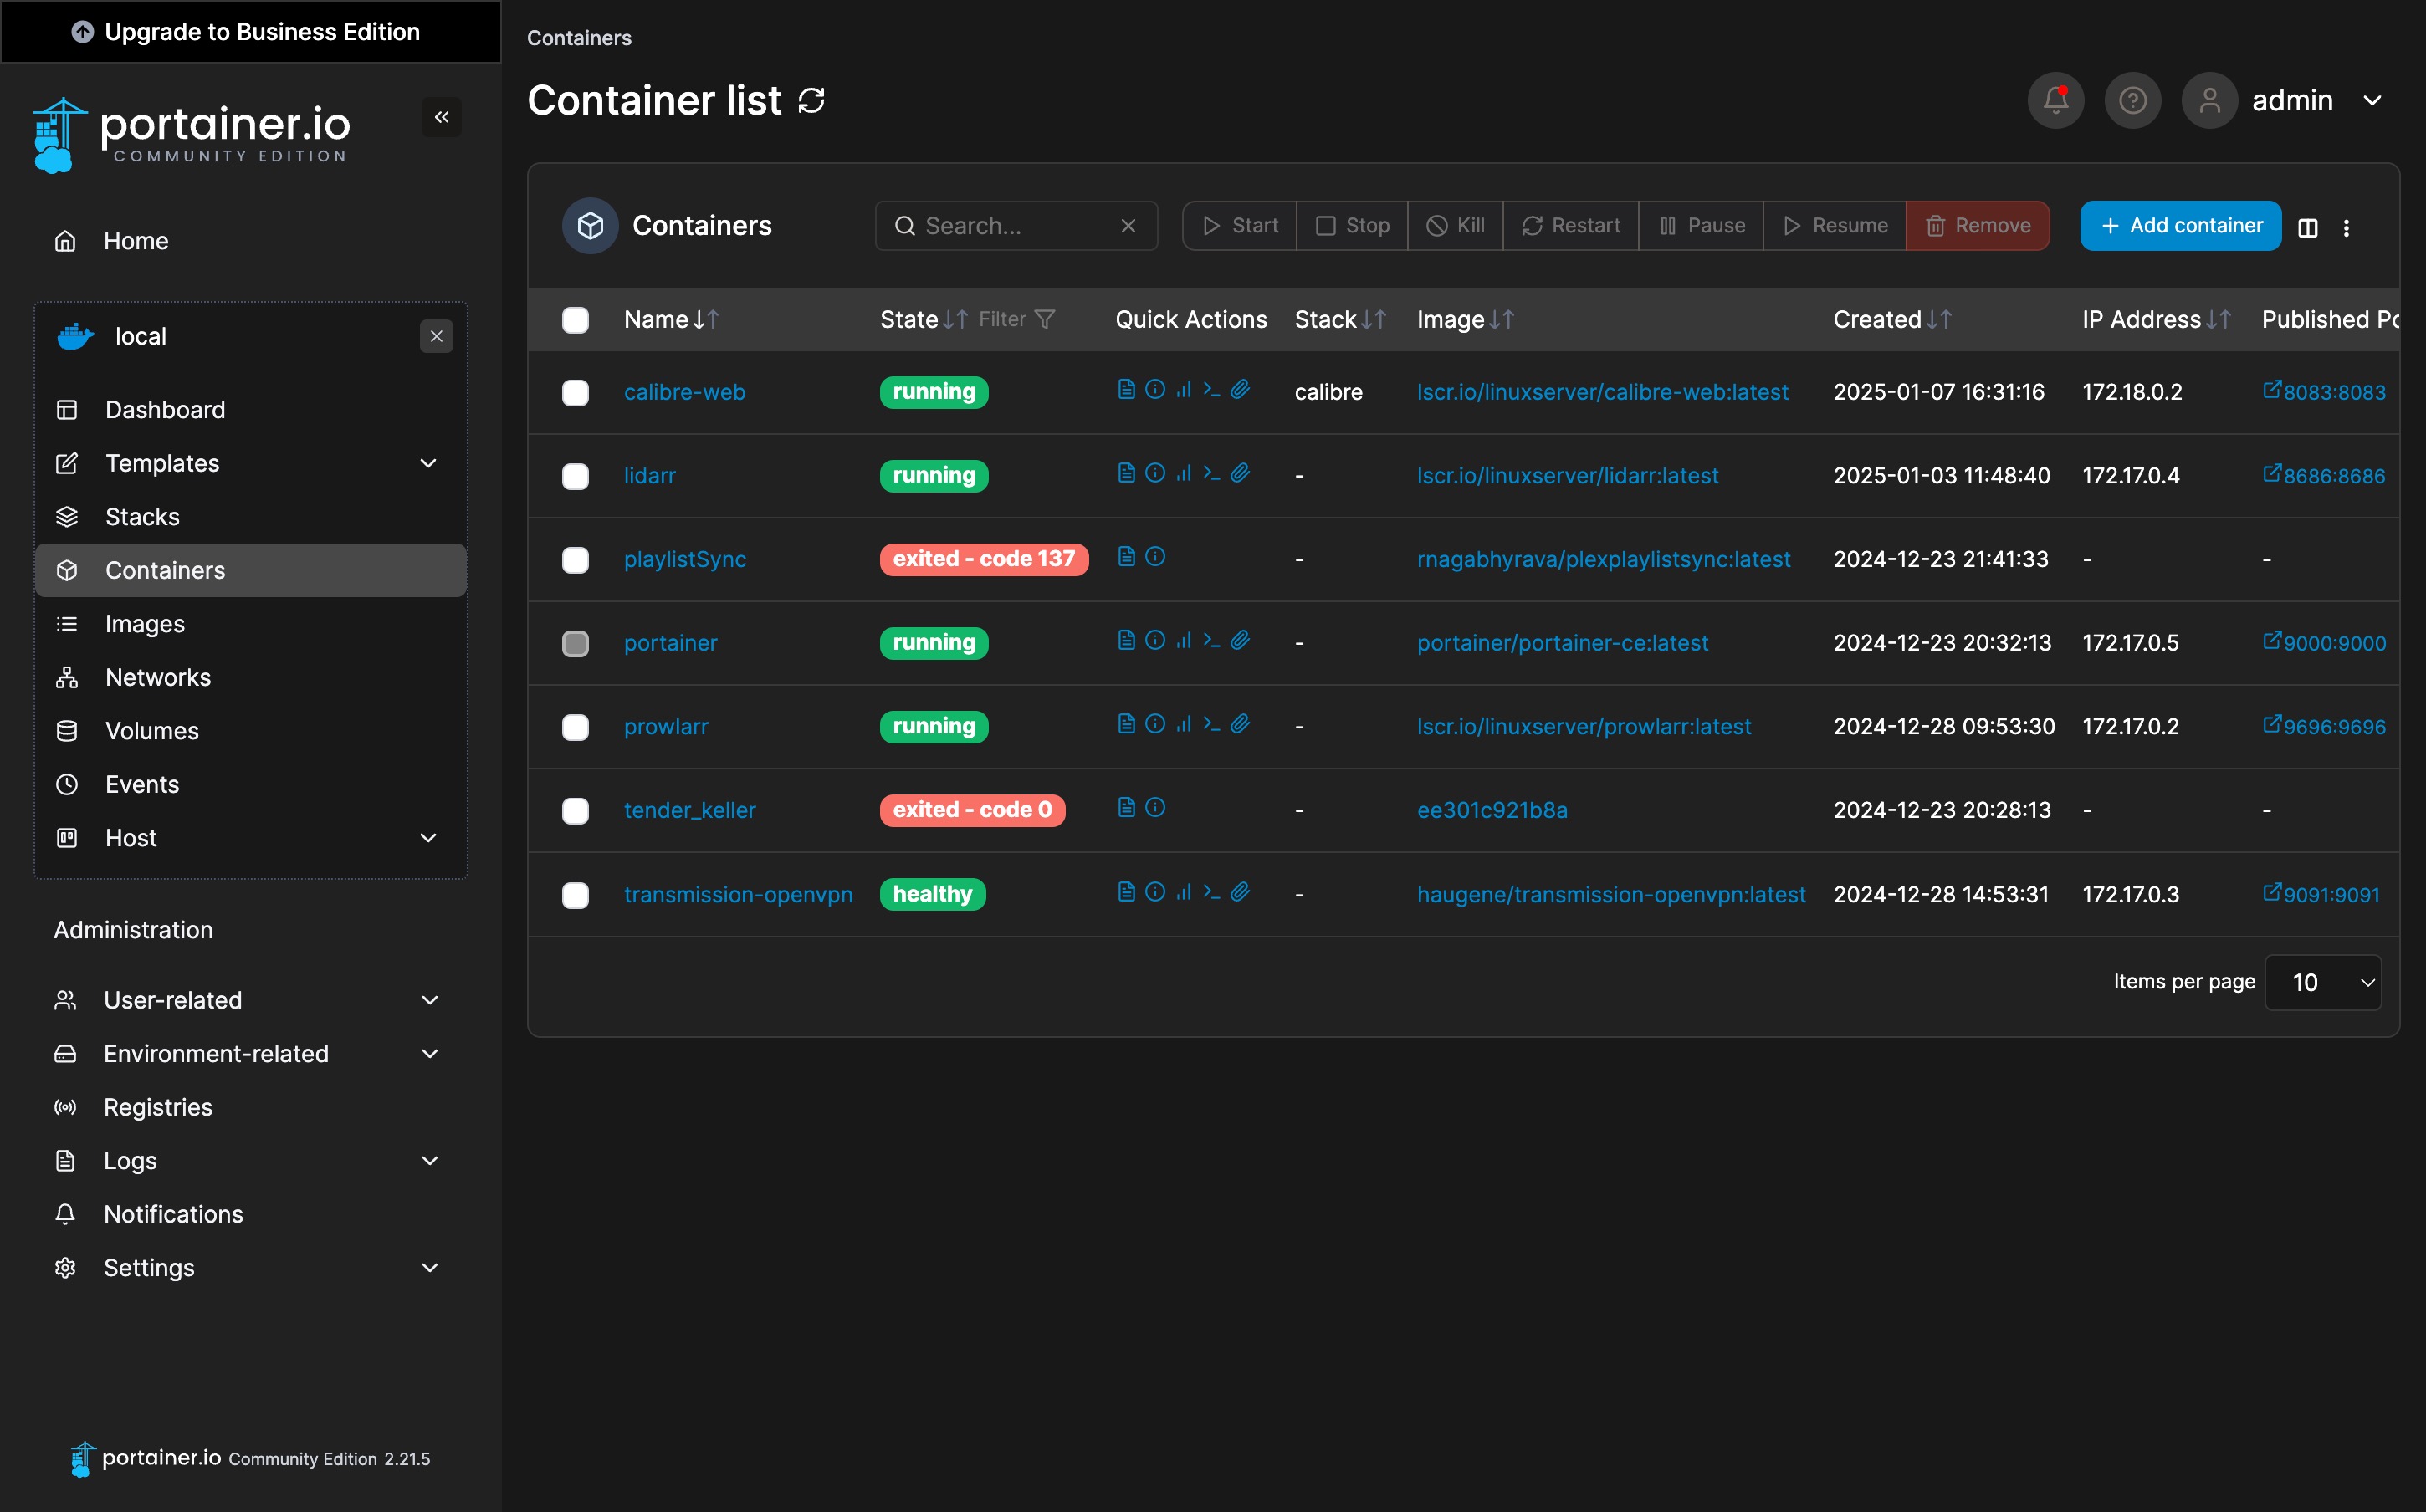
Portainer
I’m a sucker for GUI, so I need Portainer to get things going. First, pull the Portainer image:
sudo docker pull portainer/portainer-ce:latest
Set up the container:
sudo docker run -d -p 9000:9000 --name=portainer --restart=always -v /var/run/docker.sock:/var/run/docker.sock -v portainer_data:/data portainer/portainer-ce:latest
Portainer should be available:
http://[SERVER IP]:9000
Transmission
The one and only haugene/docker-transmission-openvpn.
version: "3.3"
services:
  transmission-openvpn:
    cap_add:
      - NET_ADMIN
    volumes:
      - "/home/pe8er:/data"
      - "/home/pe8er/docker/transmission:/config"
    environment:
      - OPENVPN_PROVIDER=PIA
      - OPENVPN_CONFIG=poland
      - OPENVPN_USERNAME=[USER]
      - OPENVPN_PASSWORD=[PASSWORD]
      - LOCAL_NETWORK=192.168.1.0/24
      - CREATE_TUN_DEVICE=true
      - OPENVPN_OPTS=--inactive 3600 --ping 10 --ping-exit 60
      - PUID=1000
      - PGID=1000
      - TZ=Europe/Warsaw
      - TRANSMISSION_HOME=/config/transmission-home
      - TRANSMISSION_DOWNLOAD_DIR=/data/Downloads/Seeding
      - TRANSMISSION_INCOMPLETE_DIR=/data/Downloads/Incomplete
      - TRANSMISSION_WATCH_DIR=/data/Downloads/Watch
      - TRANSMISSION_SCRIPT_TORRENT_ADDED_ENABLED=true
      - TRANSMISSION_SCRIPT_TORRENT_ADDED_FILENAME=/config/transmission-home/scripts/transmission-add.sh
      - TRANSMISSION_WEB_UI=transmission-web-control
    logging:
      driver: json-file
      options:
        max-size: 10m
    ports:
      - "9091:9091"
    image: haugene/transmission-openvpn
Torrent Added Notification Script for Pushover
#!/bin/bash

# Send push notification to pushover device when a torrent is complete.
# Available environment variables from Transmission (as of v2.83) are:
#
# TR_APP_VERSION
# TR_TORRENT_DIR
# TR_TORRENT_HASH
# TR_TORRENT_ID
# TR_TIME_LOCALTIME
# TR_TORRENT_NAME

# Pushover Token and User Key
TOKEN_APP="[TOKEN_APP]";
TOKEN_USER="[TOKEN_USER]";
TIMESTAMP=$(date +%s);
PRIORITY=0;
SOUND="tugboat";
TITLE="☠️ Torrent added";
MESSAGE="$TR_TORRENT_NAME added to Transmission.";

curl -s --form-string "token=$TOKEN_APP" --form-string "user=$TOKEN_USER" --form-string "timestamp=$TIMESTAMP" --form-string "priority=$PRIORITY" --form-string "sound=$SOUND" --form-string "title=$TITLE" --form-string "message=$MESSAGE" https://api.pushover.net/1/messages.json
Torrent Completed Script for Pushover
I set this up because I want music downloads to be copied to another folder for Picard processing, without touching the original seeded files.
#!/bin/bash

# TR_APP_VERSION: The version number of the current TR
# TR_TIME_LOCALTIME: Current time
# TR_TORRENT_DIR: The directory where the current completed seed is located
# TR_TORRENT_HASH: hashThe value of the current seed
# TR_TORRENT_ID: Current seed ID
# TR_TORRENT_NAME: Current seed name

# Set log file path
LOG_FILE="/data/Completed/torrent_post_process.log"
DESTINATION="/data/Completed"

touch "$LOG_FILE"
chmod 644 "$LOG_FILE"

echo "[$(date)] Log triggered." >> "$LOG_FILE"
echo "[$(date)] TR_TORRENT_NAME: $TR_TORRENT_NAME" >> "$LOG_FILE"
echo "[$(date)] TR_TORRENT_DIR: $TR_TORRENT_DIR" >> "$LOG_FILE"

# # Ensure the log file exists and is writable
# touch "$LOG_FILE"
# chmod 644 "$LOG_FILE"


# Log start
echo "[$(date)] Starting post-process for: $TR_TORRENT_NAME" >> "$LOG_FILE"

# Perform copy and log output
cp -a "$TR_TORRENT_DIR/$TR_TORRENT_NAME" "$DESTINATION/" >> "$LOG_FILE" 2>&1

# Log status
if [ $? -eq 0 ]; then
    echo "[$(date)] ✅ Copy successful: $TR_TORRENT_NAME" >> "$LOG_FILE"
else
    echo "[$(date)] ❌ Copy failed: $TR_TORRENT_NAME" >> "$LOG_FILE"
fi

TOKEN_USER="[TOKEN_USER]";
TOKEN_APP="[TOKEN_APP]";

# Message for the notification.
MESSAGE="$TR_TORRENT_NAME downloaded & copied.";

PRIORITY=0;
SOUND="tugboat";
TITLE="☠️ ✅ Torrent download completed";

TIMESTAMP=$(date +%s);

curl -s --form-string "token=$TOKEN_APP" --form-string "user=$TOKEN_USER" --form-string "timestamp=$TIMESTAMP" --form-string "priority=$PRIORITY" --form-string "sound=$SOUND" --form-string "title=$TITLE" --form-string "message=$MESSAGE" https://api.pushover.net/1/messages.json
Magic of Remote Access: Tailscale
I could never figure out how VPNs work. I’ve had a hazy idea that’s what I need to access all my apps from outside the house…but I would never attempt to set up a VPN server (??) manually. Thankfully a good friend is a seasoned devops admin and he proposed a solution appopriate for my highly incapable brain: Tailscale. I found a tutorial, closed my eyes and proceeded copy-pasting stuff.
First, make sure apt is up to date:
sudo apt update
sudo apt upgrade
Note: Tailscale needs two dependencies that I already had installed: curl and apt-transport-https.
Grab Tailscale repo keys:
curl -fsSL https://pkgs.tailscale.com/stable/raspbian/bullseye.noarmor.gpg | sudo tee /usr/share/keyrings/tailscale-archive-keyring.gpg > /dev/null
Add Tailscale repository to the system:
curl -fsSL https://pkgs.tailscale.com/stable/raspbian/bullseye.tailscale-keyring.list | sudo tee /etc/apt/sources.list.d/tailscale.list
Update apt:
sudo apt update
And install:
sudo apt install tailscale
Start Tailscale:
sudo tailscale up
In order for other Tailscale clients to be able to access my LAN, server needs to be set up as subnet router. The following is from Tailscale documentation. First, enable port forwarding:
echo 'net.ipv4.ip_forward = 1' | sudo tee -a /etc/sysctl.d/99-tailscale.conf
echo 'net.ipv6.conf.all.forwarding = 1' | sudo tee -a /etc/sysctl.d/99-tailscale.conf
sudo sysctl -p /etc/sysctl.d/99-tailscale.conf
Start Tailscale with a flag that adds subnet routes:
sudo tailscale up --advertise-routes=192.168.1.0/24,198.51.100.0/24
(I’m not entirely sure what 198.51… is needed for but I’m too scared to change it now, since it seems to work well)
Next, go to Tailscale admin console to 1) approve routes and 2) add access rules:
{
  "groups": {
    "group:admin": ["[TAILSCALE EMAIL]@privaterelay.appleid.com"]
  },
  "acls": [
    {
      "action": "accept",
      "src": ["group:admin", "192.168.1.0/24", "198.51.100.0/24"],
      "dst": ["192.168.1.0/24:*", "198.51.100.0/24:*"]
    }
  ],
  "ssh": [
    // The default SSH policy, which lets users SSH into devices they own.
    // Learn more at https://tailscale.com/kb/1193/tailscale-ssh/
    {
      "action": "check",
      "src": ["autogroup:member"],
      "dst": ["autogroup:self"],
      "users": ["autogroup:nonroot", "root"]
    }
  ]
}